

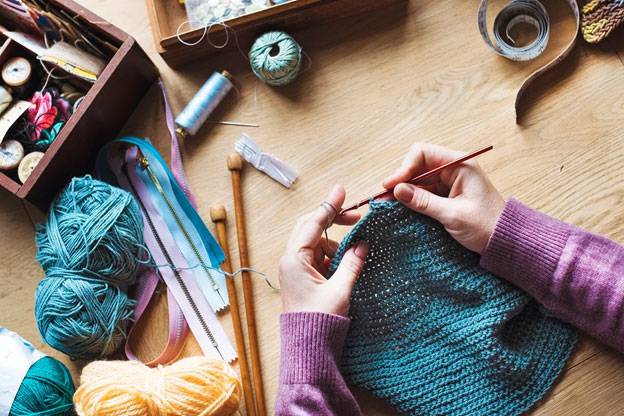
Christmas is around the corner and it’s time to get some presents for your kids! This holiday season, let’s make your toddler’s Christmas even more meaningful by knitting them a sweater as a gift.
Before we begin, keep in mind that kitting takes a lot of time and effort! So, if you’re busy or just not ready for this, the good news is you can head online and buy stylish winter gear for your toddlers. When shopping for cute sweaters for toddlers, try to prioritize comfort and warmth above all.
Remember that the number of stitches you cast on and work for each of your sweater’s sections will depend on your toddler size. So, start by measuring your kid’s chest, arms, and body length. Then, use these measurements to choose the right size. Here are the measurements for toddler sweaters sizes (aged 2-5):
Note: We made our toddler sweater in size L (32 cm / 24 inches) with body length around 22.5 cm / 8.85 inches.
Before you start, use a Cast-on calculator to know exactly how many stitches you will need for your toddler sweater. Then, use your size 8 needles to work the next 6 rows in garter stitch. Continue working and knit all of your rows in the garter stitch to form the bottom border of the sweater. Switch to size 10 needles and repeat the same method for this one’s 6 rows. Next, start working the rows in the stockinette stitch – alternate between knitting and purling your rows.
Begin shaping the area for the armhole by binding off the first 4 stitches at the beginning of your next 2 rows. To do this, knit the first 2 stitches in the row then loop the first stitch over the second stitch. Next, knit and loop the first one over the second one. Repeat that until you have 4 bound-off stitches on either side of your back piece. Keep going until the piece reaches the right measurement for your toddler’s size.
Use the same bind-off technique that you used for the armhole. Repeat for the second piece since the front and back pieces of the sweater will be identical. The closer your work on the tip of your needles, the less you will stretch out your stitches and the neater the edge will look.
For the sleeve borders, knit 6 rows using your size 8 needles. Then, switch to size 10 needles and begin working the rows in the stockinette stitch. Increase the stitches as you continue to knit your sleeve pieces. This will ensure that your sleeves get larger as you work up towards the shoulder. Keep going until your sleeve piece reaches the desired measurement. After that, knit the other sleeve with the same technique. When both sleeves are at the desired length, bind off the stitches to secure them.
Thread your yarn needle with about an arm’s length of thread (around 18 inches) to make sure it won’t get tangled as you sew. Line up the pieces with right sides facing each other and the edges are even. This should be easy since they are identical. Next, begin to sew from the bottom corner of the sweater. Start with the edge of the 6-row border and finally up towards the top. Keep sewing until you reach the armhole space. Repeat this for both sides and leave the garment turned inside out for now.
Line up the edges of the sleeves evenly with the right sides facing each other. Sew from the bottom corner of the sleeve (near the 6-row border) to the end of the edge near the shoulder. After that, tie off and trim any excess yarn. Just leave both sleeves turned the wrong side out for now.
Take one sleeve and line it up with the body piece so that the seam is facing downwards. Sew where the seam of the sleeve and the seam of the body piece meet. In the armpit area, sew around the sleeve edge to attach and close up the armhole.
Sew along the top of each shoulder to shape them and create the neckline. Make sure you do this while the sweater is still turned inside out. Finally, tie off the thread and cut the excess to complete. Turn the sweater inside out and now you just have the best Christmas gift for your toddler this holiday season!
Here is the final result! Cute, isn’t it?
Image sources: Cocoknits, Purl Soho, Amazon
Bad airy and old apartments in Boston often suffer from moisture, mold and mildew issues,… Read More
Children are first exposed to the internet at ever younger ages in the technologically advanced… Read More
1. Introduction – The World of Online Games In the digital age, online gaming has… Read More
The Ram 1500 has earned its place as a favorite among truck enthusiasts, thanks to… Read More
Ever wonder who creates the websites you visit, apps you use, or systems running massive… Read More
Introduction – Why Grammar Matters for Kids Every language's foundation is grammar. Early grammar instruction… Read More


